Creating a blog is one of the most important parts of your career, as a programmer. If you’re a follower of Simple Programmer, you probably know how much I give emphasis about creating a blog and marketing yourself online. Creating a blog was one of the best things I did for my career. The benefits of creating a blog are innumerous. Here are just a few of them:\n\n
- \n
- It positions you as an authority on your niche
- It helps clients find YOU
- It gives you credibility
- It makes the hiring process so much easier
- It opens possibilities beyond the 9-5 job
- Etc.
\n
\n
\n
\n
\n
\n
\n\nIn this blog post, we will teach you the step-by-step guide on creating a new blog using one of the easiest tools online, which is WordPress. You can totally build a blog in less than 10 minutes. Easy right? So, let’s start.\n\n
Choosing A Web Hosting Company
\n\nThe first step on creating a blog is choosing a web hosting company that you can trust and that is reliable. There are many Web Hosting Services nowadays and you should pay special attention into this step because it can definitely save you hours of stress and headaches on the future.\n\n I personally recommend Bluehost, which is the only service officially recommended by WordPress itself. The combination couldn’t be better. Bluehost is amongst one of the reliable and strongest web hosting companies, having thousands and thousands of clients. The server almost never goes down, it counts with a 24/7 technical support team, offers a free domain and, of course, it has a one-click WordPress install feature, which makes the process so much easier and faster.\n\nUsers that sign up for Bluehost on this blog post will receive 15% OFF over the regular price (depending on the plan you choose). Courtesy of Bluehost to Simple Programmer readers.\n\nTo speed things up, think of a domain name for your blog and have your credit card ready. Done that, follow the steps below.\n\n
Set Up Your Hosting Account
\n\nTo get started, go to Bluehost’s homepage and click on “Get Started Now”.\n\n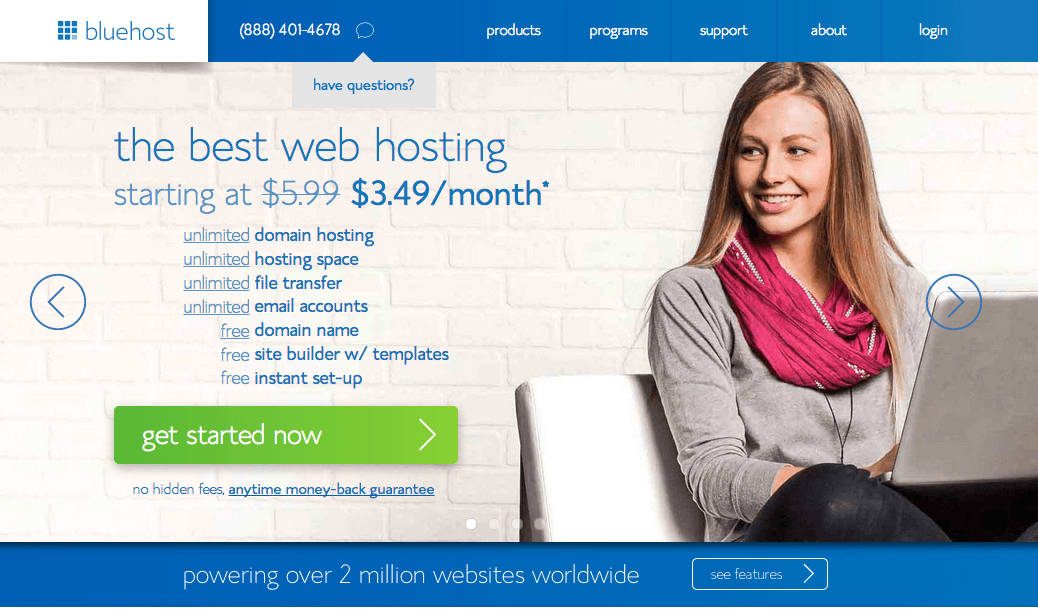
 \n\nAfter that, you’ll be asked to choose a domain name for your blog. If you don’t already have a domain name, you can purchase one right at this step. The best part is that is comes FREE with this new WordPress hosting account purchase. Choose a domain name and click on “Next”. (Note: If you already have a domain name, just enter the name of your current domain on the “transfer domain” field and follow the steps provided by Bluehost)\n\n
 \n\nOnce you’ve chosen your domain name, it’s time to enter your personal information.\n\n
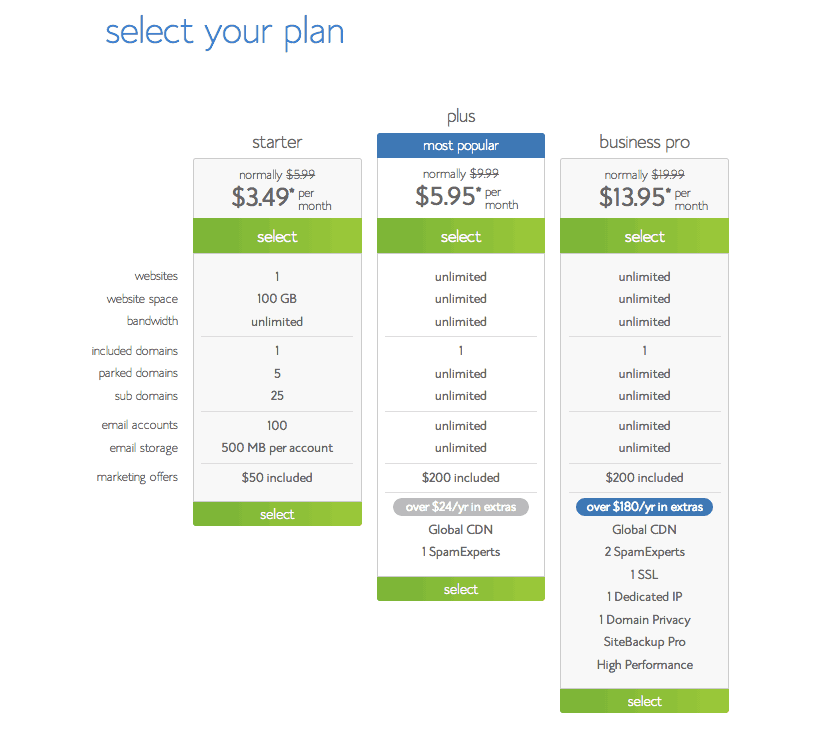
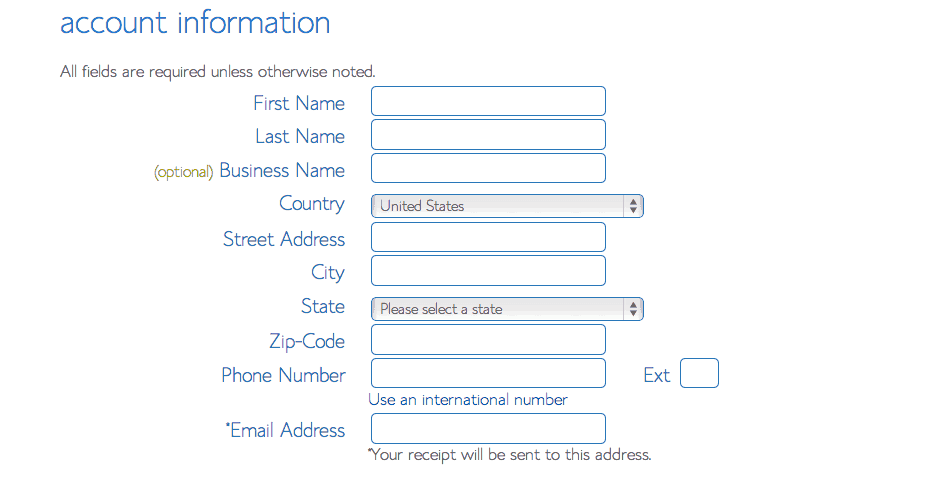 \n\nNext step is to choose your package plan and enter your billing information. Normal, shared hosting is priced at 12, 24 and 36-month terms. Longer term plans will help you save more money and the lower your monthly rate will be. Study what will be the best option for you and choose a package. You’ll also see some offers from Bluehost partners, such as SEO jumpstart and domain privacy. Select the ones that fits your needs.\n\n
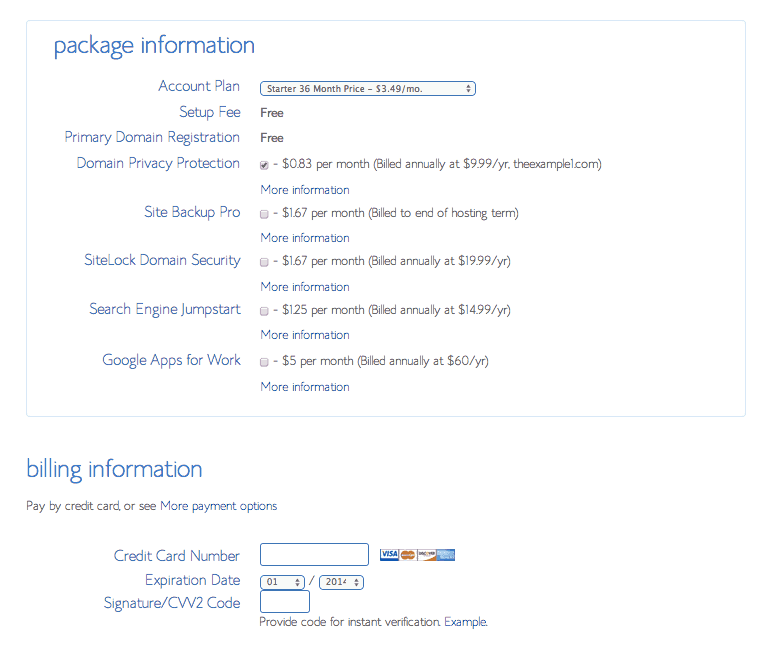 \n\nAfter filling your billing information and choosing your hosting package, click on “Next” to complete your purchase. You’ll be asked to create a password for your account. You can either use Bluehost’s password generator or come up with yours on your own.\n\nNow that you’re all set up on the Web Hosting part of the process, it’s time to install WordPress.\n\n
Installing WordPress
\n\nThis used to be one of the most complicated steps when it comes to starting a blog. However, Bluehost recently made it so that you don’t even have to do anything.\n\nCheck out this video where I show you exactly how easy it is:\n\nhttps://youtu.be/13z4_hVF4V8\n\nYou now have your WordPress install created for you automatically and you are automatically logged into your new WordPress blog!\n\n \n\nYou’re done creating your blog and installing WordPress. Now, simply log into your WordPress website by going to the admin login URL. Enter your username and password, then click “Log In”. This will take you to your WordPress dashboard. From here, you can control everything about your WordPress website, such as writing blog posts, creating pages, changing the overall appearance, etc.\n\n
Wanna Go Further?
\n\nThis was just a brief introduction on how to create a blog. The benefits of creating a blog are numerous and I cover them on details on my FREE Blogging Course, which you can SIGN UP HERE.

Related Articles

How to Start a PROFITABLE Programming Blog From A-Z (2022)
Are you looking to: … get your name out there as a programmer? … share your solutions with the world?…

Developer Side Hustle: Convert Learnings Into Earnings
Developers are always learning, but they may not know how to turn that knowledge into more significant earnings. For example,…

Top 10 Simple Programmer Posts of 2021
A comprehensive look at the top posts on Simple Programmer in 2021, from a most read to a most engaged…