I’ve always found it a bit strange that we’ve had to use a language like C# or Java to write automated tests using Selenium.
Not that I dislike either of these languages, but—especially in modern JavaScript times—it is a little bit strange to write a web application in primarily JavaScript and then write the automated test for it using C#, Java, Ruby or Python.
That is why I was pretty excited to see that there were Selenium bindings for JavaScript that would allow you to write your automated tests in JavaScript and run them from Node. You can finally use Selenium with Node.
In this post I am going to take you through the process of getting setup and running a simple JavaScript based test using Selenium with Node.js and Mocha.
(The instructions here are for Windows, but you could easily follow most of this post if you are planning on running your tests on Mac or Linux—in fact, it should be much easier.)
Also, before you start learning up any new skill or concept, I suggest you take a look at my course “10 Steps to Learn Anything Quickly”.
Installing Node.js
Before we can get started, we first need to get Node.js installed.
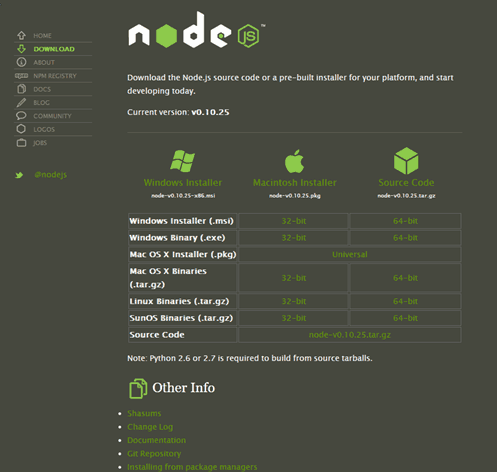
Just head over to the Node.js site’s download page to find downloads for Node.js for each platform.
Just select the appropriate version and install. You’ll need Node.js to run the JavaScript tests because you need some way to execute your JavaScript locally.
(If you are interested in learning more about Node.js, I recommend the excellent Node.js in Action book.)
Getting Selenium with Node working
Once we have Node installed, we need to get Selenium webdriver so that we can actually have a way to automate a browser.
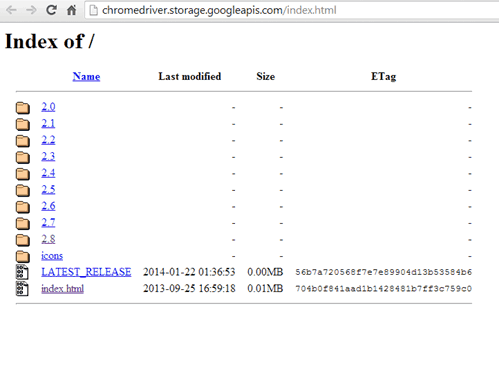
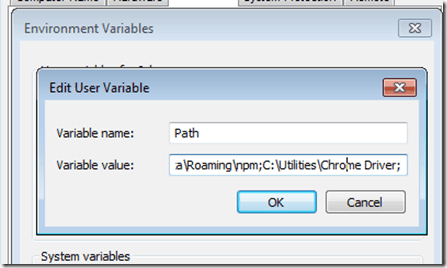
Not so fast though, before we can get that part working, we’ll need to make sure we have the latest chrome driver. Go download the Chrome driver first and put it in your PATH.
Now, we are ready to get the Selenium webdriver bindings that we’ll use to automate the browser from JavaScript. The bindings will just expose the Selenium API through JavaScript, which we can access by importing a module in Node.
Go to the location where you are going to create your test project and either open up a command line or terminal window there.
We’ll use Node’s built-in package manager, or NPM, to install the Selenium webdriver package.
Just run “npm install selenium-webdriver” to install Selenium webdriver in the current project directory.
Let’s do a quick test to make sure everything is working so far.
Create a file named first_test.js in your project with the following code:
Then, execute the code by running:
node first_test.js
You should see the Chrome browser popup and it should search for “Simple Programmer”, then quit. (If it goes too fast, take out the driver.quit line.)
(Also, a good book in Selenium is Selenium Testing Tools Cookbook. You can also check out my courses on Pluralsight.)
Adding some Mocha
Mocha is a test framework commonly used to write unit tests for JavaScript code, but we can also use it as a driver to drive our Selenium tests when using Selenium with Node.
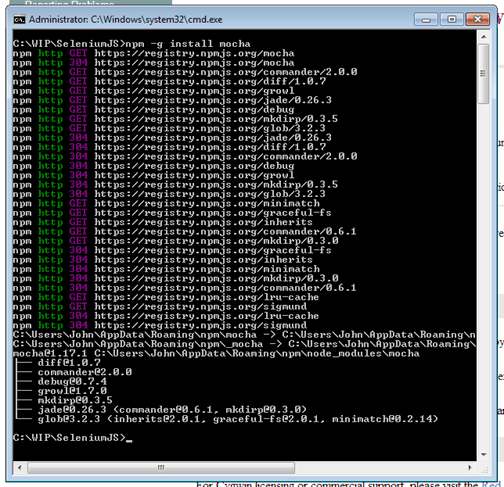
We can get Mocha using the Node package manager as well, but for Mocha we want to use the –g option which will install the package globally instead of just locally to our project. This will allow us to run Mocha on Windows without using Cygwin.
Go ahead and install Mocha by typing:
npm install –g mocha
Writing your first test
Now we are ready to write our first test using Mocha.
Create a new file in your directory called mocha_test.js with the following contents:
This simple test will test that we can type “simple programmer” into Google’s search box and verify that the text is there.
A pretty simple test, but it demonstrates the basic skeleton of creating an automated test with Mocha using Selenium with Node.js.
You can execute the test by typing:
mocha mocha_test.js
If the test executes too quickly, you can comment out the driver.quit to keep the browser window open.
Going further…
Well, that should get you started with using JavaScript and Node to run a Selenium test driven by Mocha.
You can use this basic setup to create much more robust automated tests. I call these kinds of tests blackbox automated tests or BATs. (Check out my series if you want to learn more about creating a automated testing framework.)
And if you liked this post, go ahead and sign up here to make sure you don’t miss other content like this.


