Have you ever wondered what it takes to launch a business like Airbnb, Uber, eBay, or Google? It sounds exciting, yet scary.
Large technology businesses like these aren’t like “normal” businesses. They have a lot of different moving parts. One of their biggest and scariest technical hurdles is payments. They have customers who need to pay individuals, and then the business also needs to take a cut. What if they want to operate across countries and currencies with different payment legislation and tax law?
The whole payment business can seem like a nightmare. It almost feels like if you want to create a business that requires a complex payment system, the only way you could pull it off is with a team of very expensive payments specialists, which probably means expensive consultants and experienced software engineers. It sounds like managing payments easily only works for big businesses with lots of cash, right?
Not anymore. Stripe online payments make it easy to set up payments architecture. You can now take payments online, set up trial periods, pay referrals: Everything you can imagine is possible with a few lines of code and in a matter of hours!
In order to show you how Stripe Connect can work for you, first we'll go through the history of the Platform business model and why you should consider building a Platform-based business. Then we’ll talk about exactly what Stripe is and how you can navigate the scariest part of platform creation — payments — in four simple steps with Stripe. While the examples are using NodeJS and React, they are small and concise, which means even those who aren't technical can understand them.
I’m going to walk you through each step, but to make it as easy as possible, I’ve also created a demo that covers all the steps, which you can check out here.
The Lucrative Platform Business Model
A platform is a special type of business. Rather than selling goods itself (which is referred to as a Pipeline business), a Platform business instead trades goods or services on behalf of other suppliers, and the Platform is the architecture that connects buyers and sellers.
Google was the pioneer of this technological business model. Now, most large modern technology companies operate using a Platform model. For instance, YouTube doesn't create its own content; its users do. Uber doesn't own any taxis; it connects riders with drivers. Airbnb doesn’t own the lodging it rents out; individual users do.
Every imaginable niche is open to innovation from the Platform business model. Platforms are even currently connecting dog walkers. (Want to borrow a dog for a day? You can.) In the future, there could be barista Platforms where baristas share coffee making tricks, or Platforms that allow motorcycle enthusiasts to trade rare engine parts.
If you want to learn more about the history of Platforms and how to build one, check out Platform Revolution.
But what are the technical aspects required to start a Platform business model? Most Platform businesses are applications. That means you'll need an application server, you'll likely need some form of authentication, and you'll need some way to take payments — which is why we’ve got Stripe.
Stripe to the Rescue!
Until recently, taking payments online was difficult. Paypal revolutionised payments by piggybacking on eBay to create a simple online payments solution. Since then, the world has adjusted to the thought of online payments, and that's where Stripe comes in. Born in 2011, Stripe was created by Irish brothers Patrick and John Collison. The founders wanted to build a solution to scratch their own itch, which meant designing a payment solution targeted at developers.
What is Stripe Connect?
Stripe offers a suite of services, one of which is Stripe Connect. Stripe Connect allows individuals to turn their business into a Platform. Platforms can then register “mini-businesses” as part of their payments ecosystem and control payment interactions between these mini-businesses and their customers.
What Does Stripe Cost?
Stripe does come with a cost. For in-depth detail of Stripe’s cost, check out their payments page.
The Stripe Connect Tutorial
Now that you're excited about what a Platform is, let’s learn what it takes to build (the payments part of) one. This tutorial takes you through one of Stripe’s most complicated payments processes: recurring payments from which the Platform takes a recurring fee.
Due to the complexity of this payments pattern, we'll use the example of a gym Platform to make life easier. Imagine a business where gyms can register and then use the Platform to provide recurring payment plans to members. That's what we're going to build today.
For this tutorial, we are assuming that you have already registered an account on Stripe which allows you to connect your app to the Stripe API. In NodeJS, you can connect Stripe with the npm package called “Stripe.” With an account created, you can now begin fulfilling the four steps of your platform:
- Creating an account (the gym)
- Creating a plan for that account (a monthly membership plan)
- Creating a customer of the account (a registering gym member)
- Subscribing that customer (the gym goer's monthly subscription)
The Types of Stripe Connect Account
Before we continue, we'll need to know how Stripe accounts work. The business will need to register with Stripe, as they will need to enter details to get paid. How they register these accounts is the difference between the Stripe account types.
Stripe Connect offers three ways of creating accounts. These types are:
- Standard
- Express
- Custom
What differentiates these types is:
User Experience. The Standard account is a more disruptive experience. To create an account, the business owners have to be redirected to the Stripe website to sign up, and then back into the Platform. Now the business owner must maintain two accounts, one for the Platform and one for Stripe. Stripe is where they’ll need to go to do everything regarding their payments: change payment methods, cancel subscriptions, etc. The Platform handles the business functions. On the other end of the scale is the Custom account type where the Platform owner creates a Stripe account for the business owners on their behalf. This makes for a much more seamless experience, as the business doesn’t have to manage two accounts and the full experience is curated on the Platform.
Liability. The custom accounts mean the Platform takes care of the Stripe interactions. This puts the responsibility on the Platform to provide all necessary functions. These must all be custom made and interact with the Stripe API. In order to use Custom accounts, the Platform owner must also be a registered business. These are the costs for the more seamless experience. While stripe is very secure, any miscalculations or erroneously sent payments will mean the Platform is liable, so good testing and a stable Platform is advised.
The needs of the Platform will determine which type of account you decide to use. If the Platform only registers a few customers a year through a personalised sales strategy, using the standard account should be fine, as the Platform owner can walk through the business, setting them up. However, this doesn’t scale. If your business is similar to Airbnb, each new host is not getting a handheld journey. And Airbnb wants to ensure the most seamless and confidence-building onboarding journey for new hosts, who might be a bit worried about leaving their house alone with customers.
For this tutorial, we will use the Stripe Custom account type for a more seamless experience.
Step 1: Create an Account
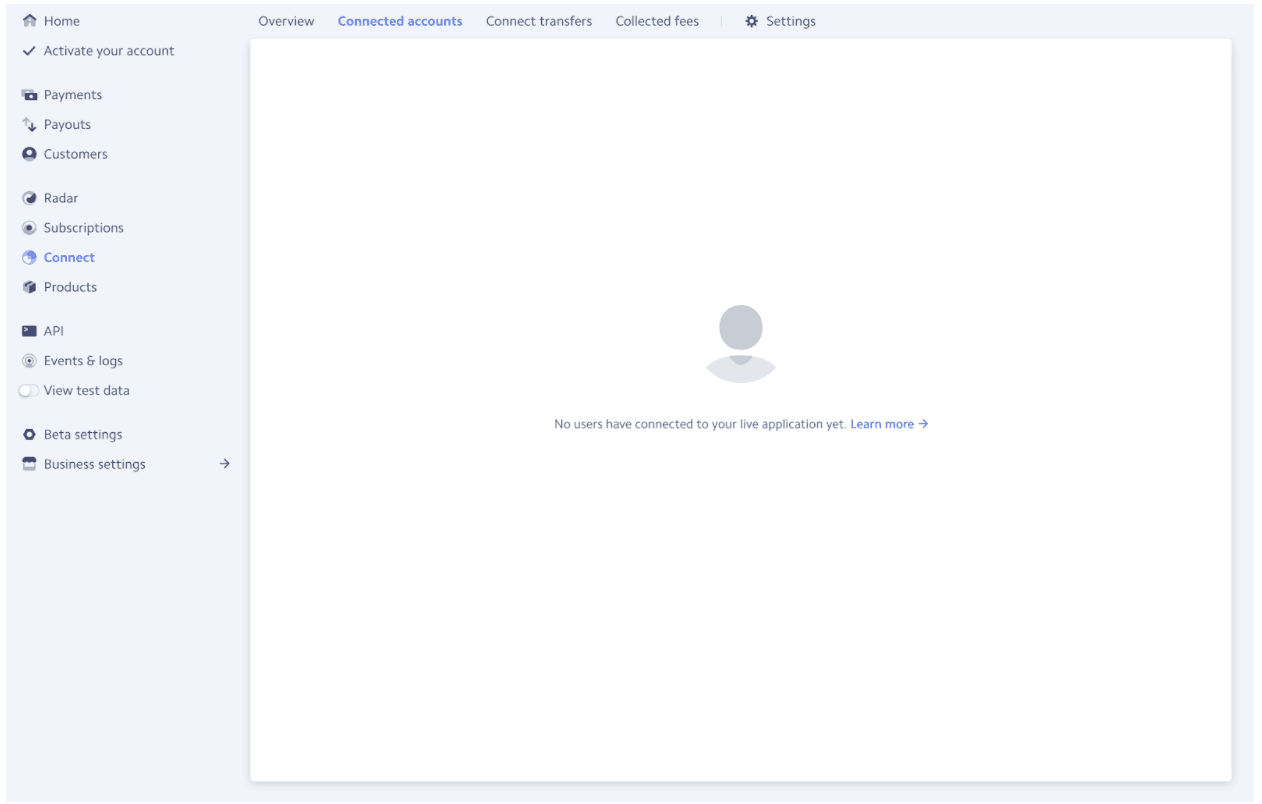
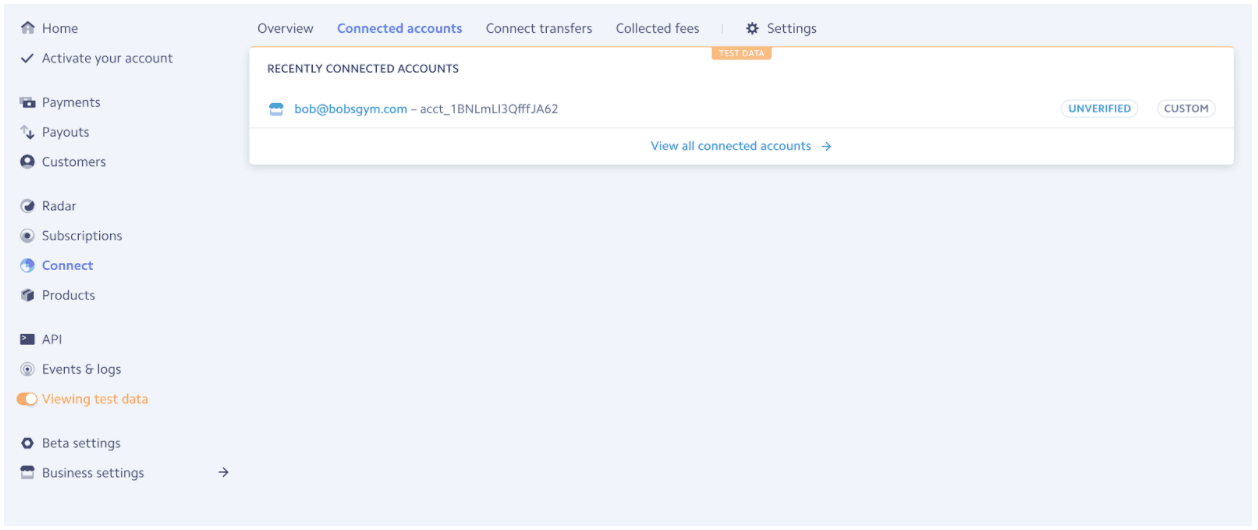
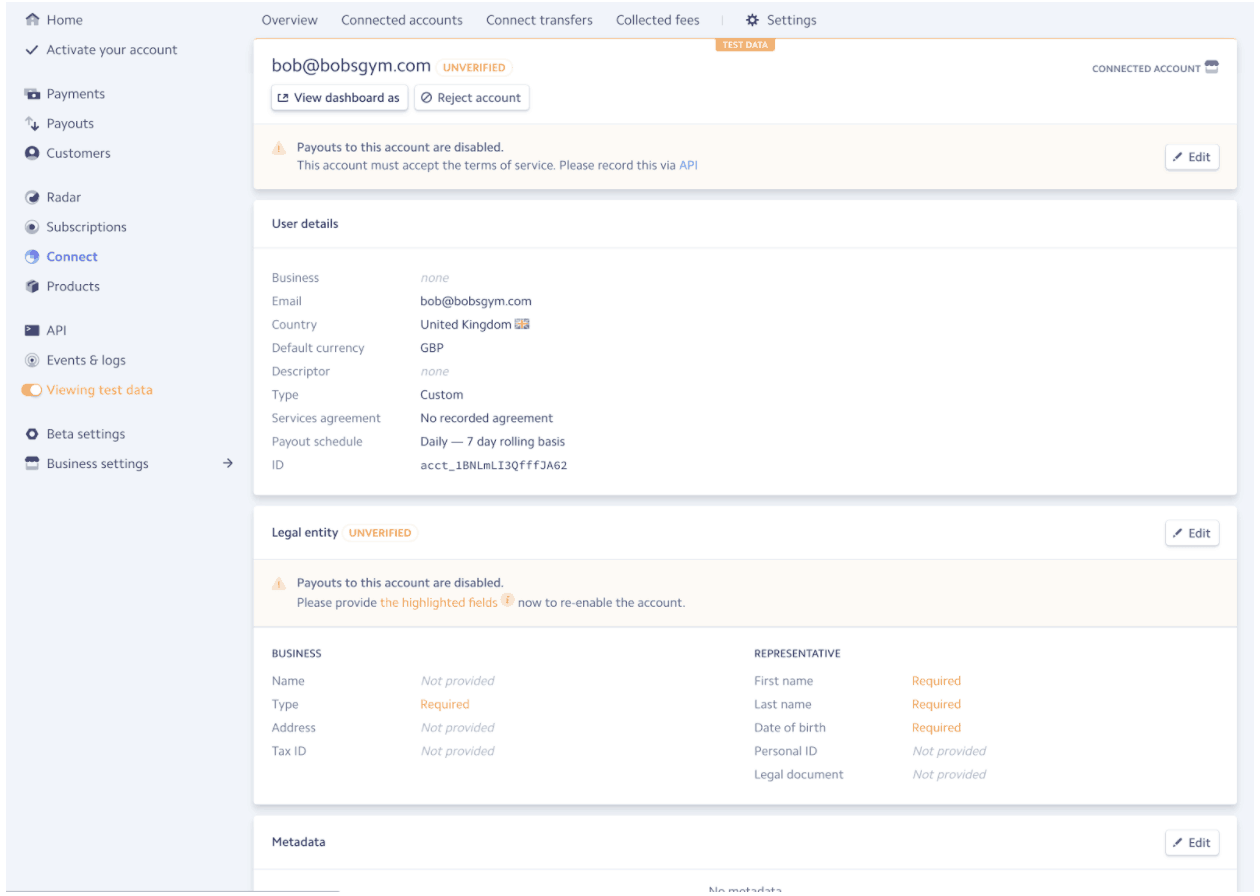
As the Platform owner, you already have an account on Stripe. So if you are creating a gym Platform, this first step involves registering a gym business to connect with your Platform. We’re creating a Custom account for the business so they don’t have to do that work, and so we can control more of the customer experience.
To register the business under a Custom account, we need one thing from the business: their email. Then, the Platform owner will submit the business’s email and country of origin to Stripe.
This request will return an account ID; hang onto it, you'll need it later.
For details on this API check out the docs.
Step 2: Create a Plan in the New Account
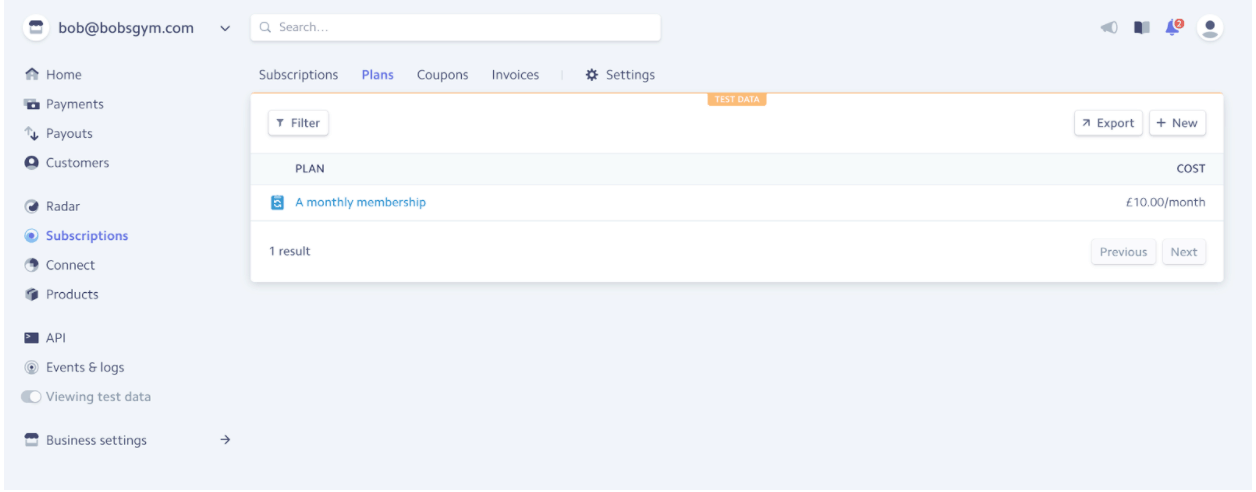
Great, now you have a business registered on your platform! But now these businesses will want membership types, which in Stripe are called “plans”. These plans are then subscribed to by the businesses customers. The business might want a membership type that lasts a year and rewards members’ loyalty with a lower monthly payment, or a regular monthly subscription (which we'll do now).
For this step, you'll need to define the “interval” by which payment is taken, and then add the cost of the plan. (In this example, I’ve used 1000 pence (GBP), which means your monthly plan is now £10.00.) You will also need a name under which to display this membership in your application. You will need to pass an ID. You can define this ID in any way you like, as a human-readable string or as an ID from your own database. Finally, you'll want to provide the account ID for the owner of the plan.
Important: You may notice that in this call there are two sets of arguments. The first details the plan; the second part is the account on which the plan is created. If you call this API without passing the second parameter, you'd create a plan on the platform account, meaning the Platform would be offering gym membership (which is not what we want). That's why you must pass the account ID (gained in step 1) as the second parameter to the create plan API. Stripe uses this pattern of ID passing in most of its connect APIs.
You don't need to remember anything from the response of this API except your plan ID for later.
For details on this API, check out the docs.
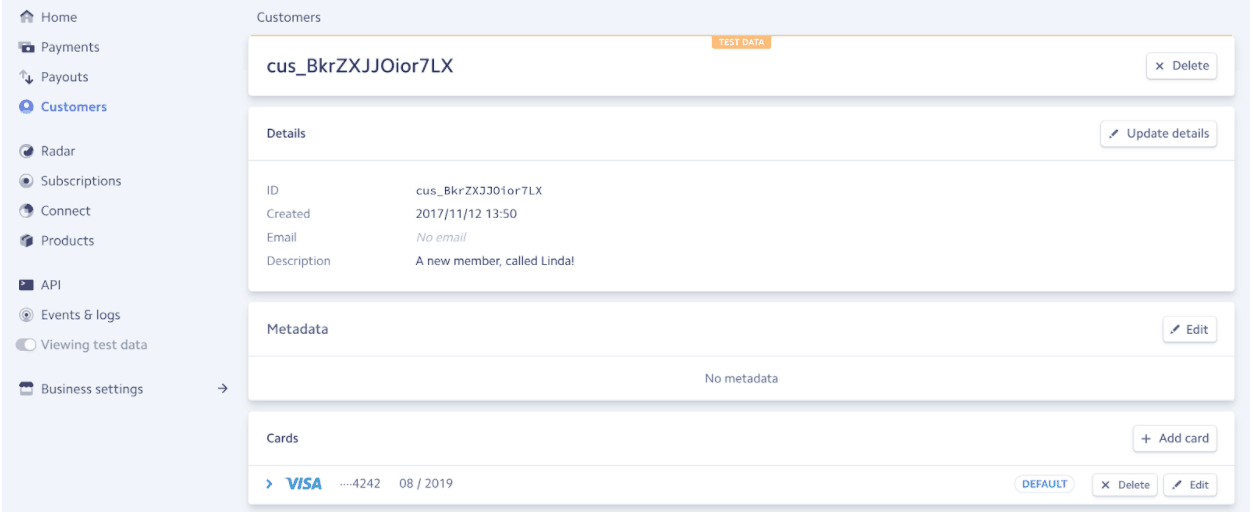
Step 3: Create a Customer of That Plan
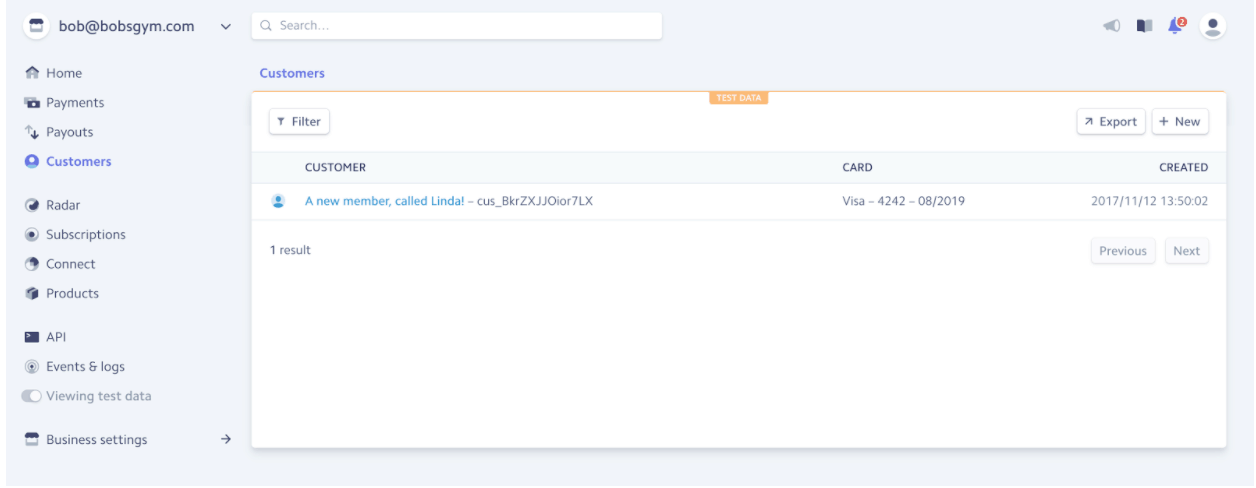
Now on the Platform, there is a gym, and that gym is offering monthly memberships. In order to register to a plan, there are two steps The first is creating a customer with a payment method and the second is subscribing the customer to a plan. Step 3 is the former, creating a customer of the business.
To register a customer, you'll need to describe them. Use their name so that you can find them later, and then next, you'll need to pass a payment token. For simplicity, I'm using a test token from the Stripe docs in this example.
Okay, we've cheated a little as we’re using a test token for simplicity. In order to obtain a token, you’ll need to collect payment information from your customer by using the Stripe’s Checkout widget. The widget collects card information and passes it directly to Stripe (not via your server) and then gives you a token in response.
This API returns your customer ID, which you'll need to hold onto for the last step.
For details on this API, check out the docs.
Step 4: Subscribe a Customer to That Plan
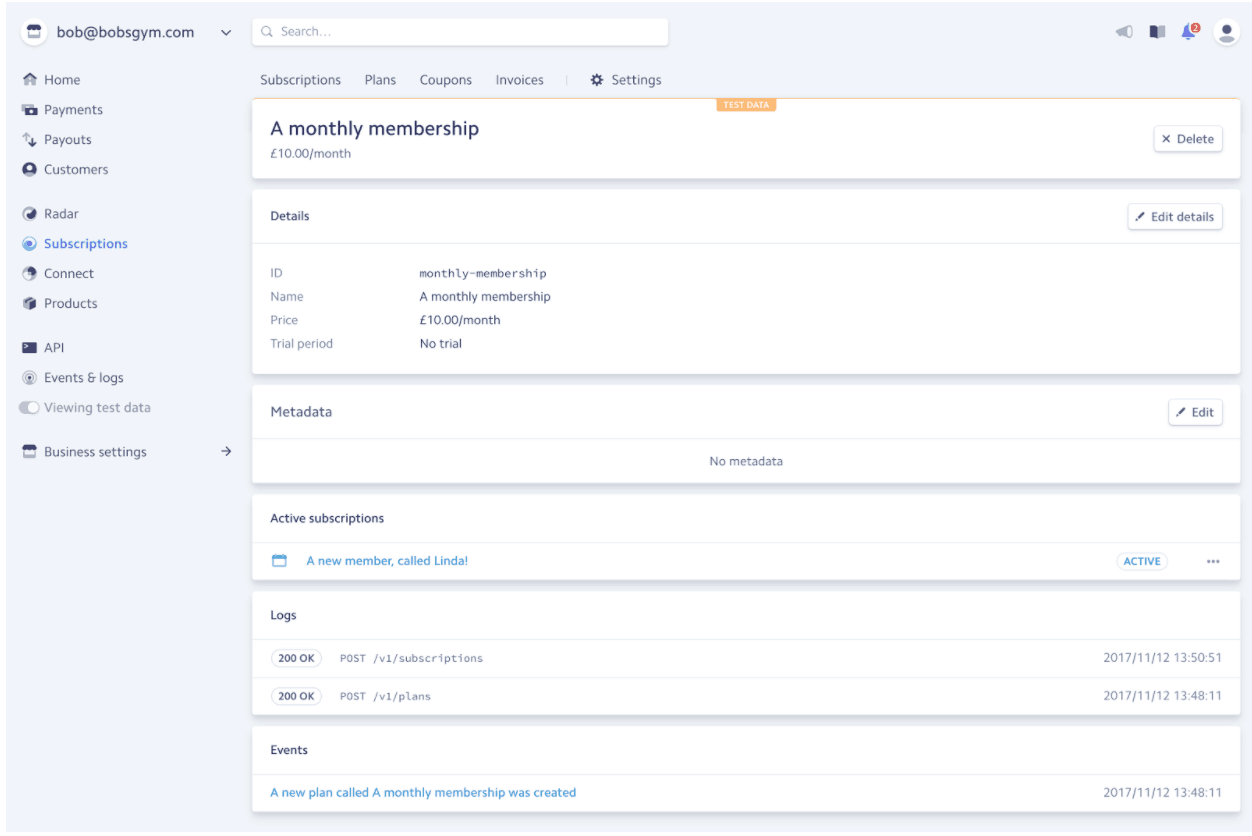
Here we go, this is it. The last step in your Platform journey. This step covers where the customer registers for the plan (and where a payment is taken).
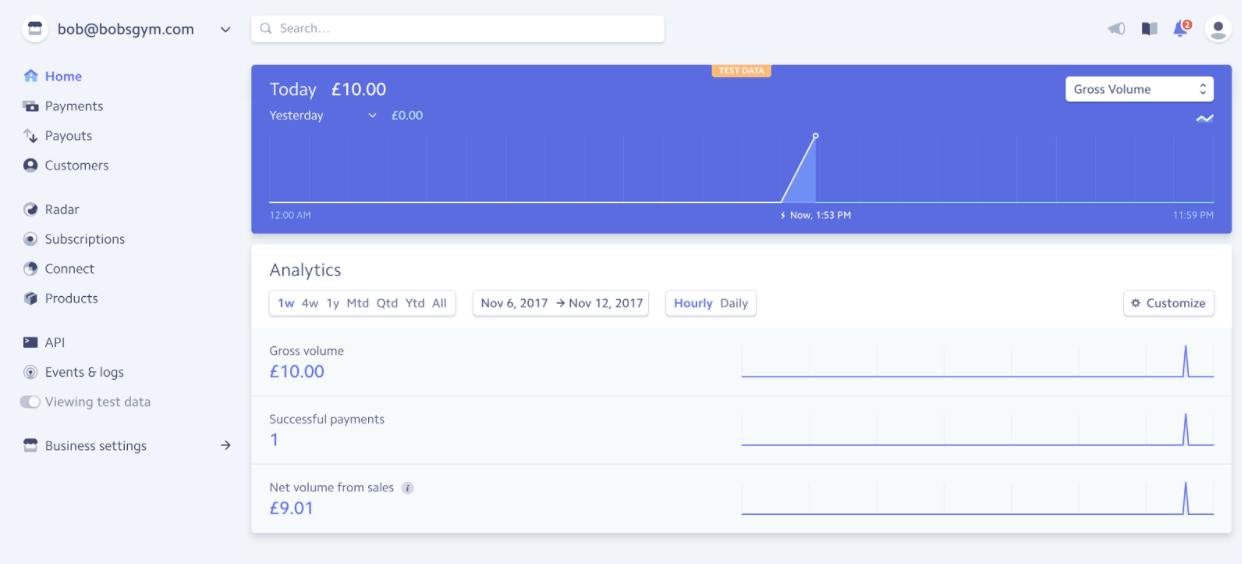
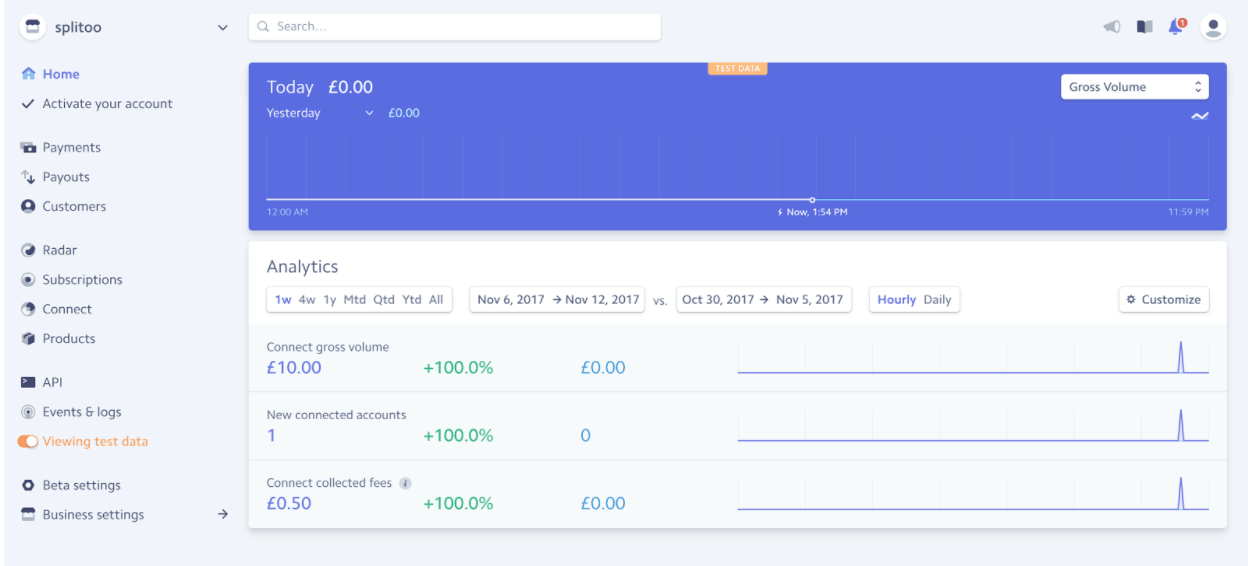
For this step, you'll need all three items you created in each of the steps before. The account (the gym), the plan (the membership), and the customer. The last piece of information you'll need here is the percentage that you as a business want to take. For this example, we use the value five, which means the customer pays £10, and you'll take five percent of that amount. And finally, Stripe will take a cut for their service to you.
Your API call will then return a subscription ID. You might want to store this ID for later, if you want to cancel or inspect the subscription.
For details on this API, check out the docs.
The Easy Way to Build a Platform Business Payment System
That's it!
That’s the easy way to create a Platform business in four simple steps. Now you know what a Platform business is, why the future means Platform businesses are going to be everywhere, and the true power of Stripe for making Platform businesses simple to operate.
Now it's time to think up the perfect niche and get building!


