 The virtual reality (VR) market has been taking giant steps in the last couple of years. The VR industry is now backed by giants like Facebook, Microsoft, and Samsung. This pushes the market even further by decreasing prices of VR headsets and improving the quality of those gadgets.
The global virtual reality market was valued at USD 2 billion in 2016 and is expected to grow tenfold by 2021. The development for VR follows this trend by growing accordingly.
But why should this interest you as a developer?
The first reason is the challenge. Working on a new project in a totally different technology from what you’re used to can stimulate and refresh your brain after finishing said project.
The second reason is that virtual reality is here to stay. We can expect that more and more developers are going to shift from their current positions to VR-related ones. So don’t be surprised if web developments become obsolete while VR development becomes one of the top paying jobs in the industry.
Starting early means taking the first-mover advantage, which could definitely benefit in the long-term. After all, leaving your comfort zone never hurt anyone.
If you decided to take a risk and try VR development, the first steps are choosing a device and platform to use. Let’s start with basic differences between device types.
Getting Started: Choose a Device
The two major VR device types are mobile VR and console VR. Mobile VR is a separate device that’s connected to an iPhone or Android phone. It is wireless and doesn’t require additional hardware, making it more accessible. Console VR, on the other hand, is attached to a computer or gaming console such as PlayStation. Currently, the cost of mobile VR headsets is relatively cheap compared to other consoles that require a powerful computer to run the VR games and simulations.
The main difference between the mobile VR and the console VR is how immersive the experience is.
Mobile VR doesn’t deliver a fully immersive experience due to hardware limitations, as it only enables gyroscope tracking so the user can look around with 360 degrees. Console VR adds more freedom to the experience by using sensors to track not only the player’s position in a room scale, but their hand and finger motion as well. As you may be able to guess, this delivers a completely immersive experience.
If the player wants to move around when using mobile VR, they do it either by shifting eye-gaze or analog translation from the Bluetooth controller. This motion can cause dizziness and has to be tweaked and tested carefully to make movement as smooth as possible.
Developers are now competing to create solutions for VR environments and to solve some of the issues of VR use (such as motion sickness). On the other hand, console VR uses hand teleportation and analog control input most of the time. Still,developers are working on other solutions to provide a seamlessly immersive experience.
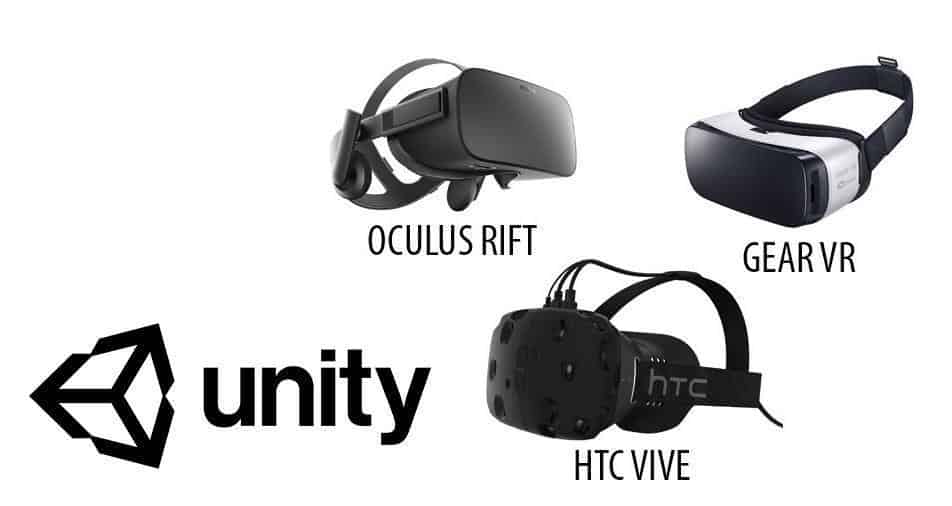
As mentioned earlier, there are multiple VR headsets on the market. The most popular ones are HTC Vive, Oculus Rift, PSVR, and other devices that target mobile VR like Google Cardboard and Samsung Gear VR. Since current technology might be outdated in less than a year,, think about upcoming editions of headsets when choosing a device to develop with. We can expect new releases by PlayStation (PSVR), HTC, and Oculus anytime soon.
Select a Platform
After you’ve chosen a device, selecting a platform is the next step. Developing for VR requires some basic understanding of game engines and some coding knowledge. Many developers are exploring the option of becoming VR developers as the market expands every day and there are not enough people who can develop for this specific platform.
Currently, there are a range of experiences that can be delivered in VR, including games from first-person perspective where the player uses their hand to shoot and drive vehicles; a commercial aspect where companies develop VR solutions to train their employees on accomplishing specific tasks; viewing landscapes; and architectural visualization. Most common VR development platforms are Unity, Unreal, Android, and iOS.
Unreal is preferred by artists as it has a much better material system for its quality, lighting and usability; simple asset importing; a greater range of building tools; and a prebuilt terrain system. Unreal projects can be deployed to Windows, Mac, Linux, and mobile phones; however, Android support isn’t extensive as it is on Unity. As most of VR projects are tested on cardboards due to expensive headsets, using Unity makes more sense in this case. Building apps using native Android and iOS platform is also possible but it can be too much work for beginners.
VR Development Tutorial
Once you’ve selected a device and a platform for VR, it’s time to get started with a tutorial.
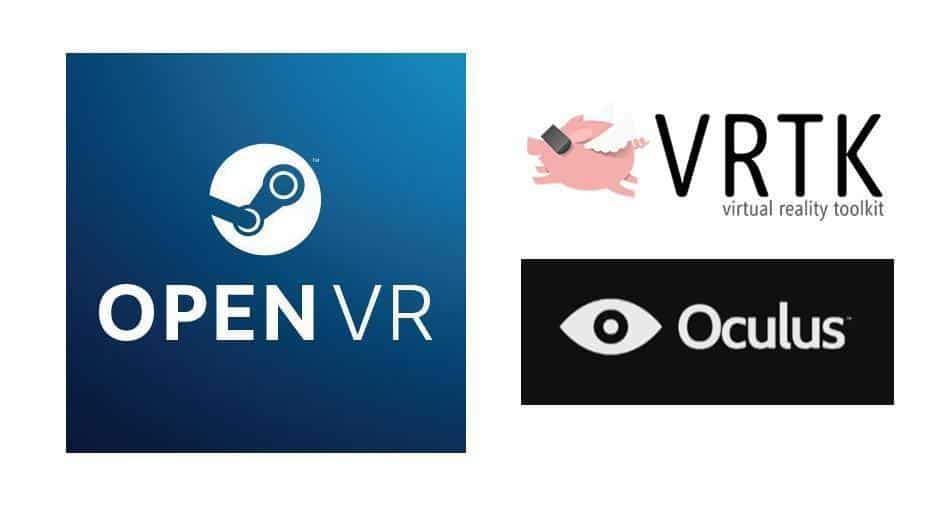
For the purpose of this guide, we’ll be targeting Oculus Rift. To develop for VR in general you will need something called a software development kit (SDK or DevKit). There are multiple SDKs on the internet for each platform, like Oculus SDK, OpenVR SDK, VRTK, GVR, and many more.
To start developing for Oculus Rift or Vive using Unity 3D game engine, you need to have a basic understanding of how to use the engine–for example, how to add game objects and behaviors to these objects, and how to import assets. If you aren’t familiar with this, I recommend you check Unity Manual and the introduction tutorials.t will be impossible to proceed without these steps. We will be using OpenVR SDK, developed by Steam, which targets a couple of VR gears in the market like Oculus and Vive.
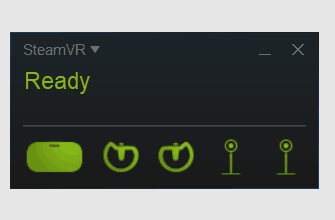
First, you need to download and install Steam and SteamVR. Once you have SteamVR installed and running and have the Oculus connected to your computer or development platform, you will have a pop-up confirmation to tell you that SteamVR is ready.
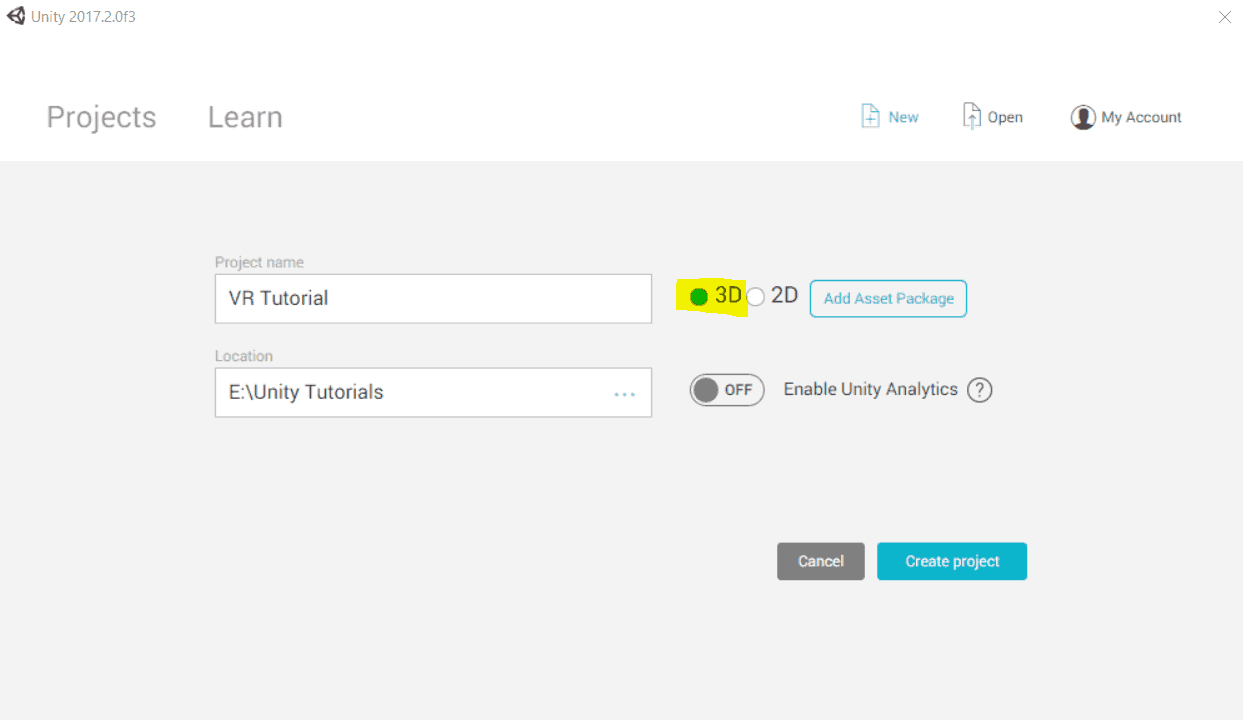
Then, you need to start a new Unity project, mark it as a 3D project, and pick a directory where you want to save it.
Unity interface basics and changes can be checked on Unity official tutorials page. There, you can also learn more about the interface and the engine.
When creating a project, you need to enable VR mode inside the engine to enable VR development. This can be done from Edit > Project Setting > Player > XR settings, then tick the “Virtual Reality Supported” button.
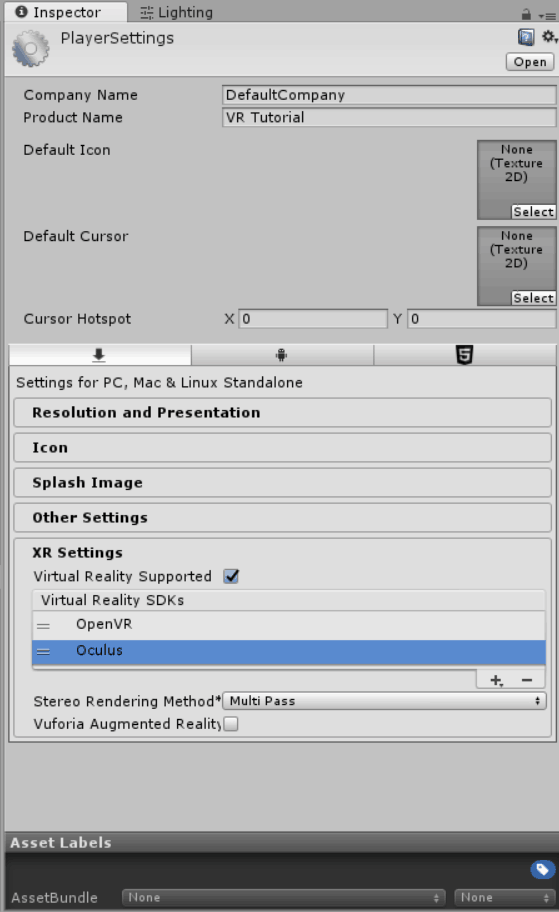
Then, you need to make sure that the OpenVR is above Oculus or other SDKs in the list.f they are not set right in the hierarchy this may cause some conflicts.
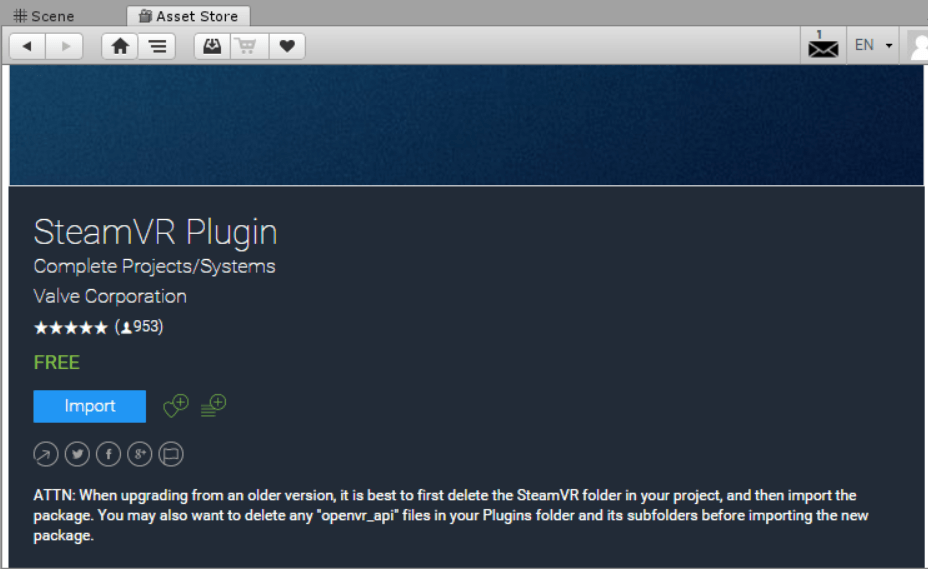
Next, you’ll need to download and import SteamVR plugin from Unity Asset Store page into the Unity project.
Once you have imported the plugin and set up the project to support VR, you can put your Oculus on and see the scene you’re developing.
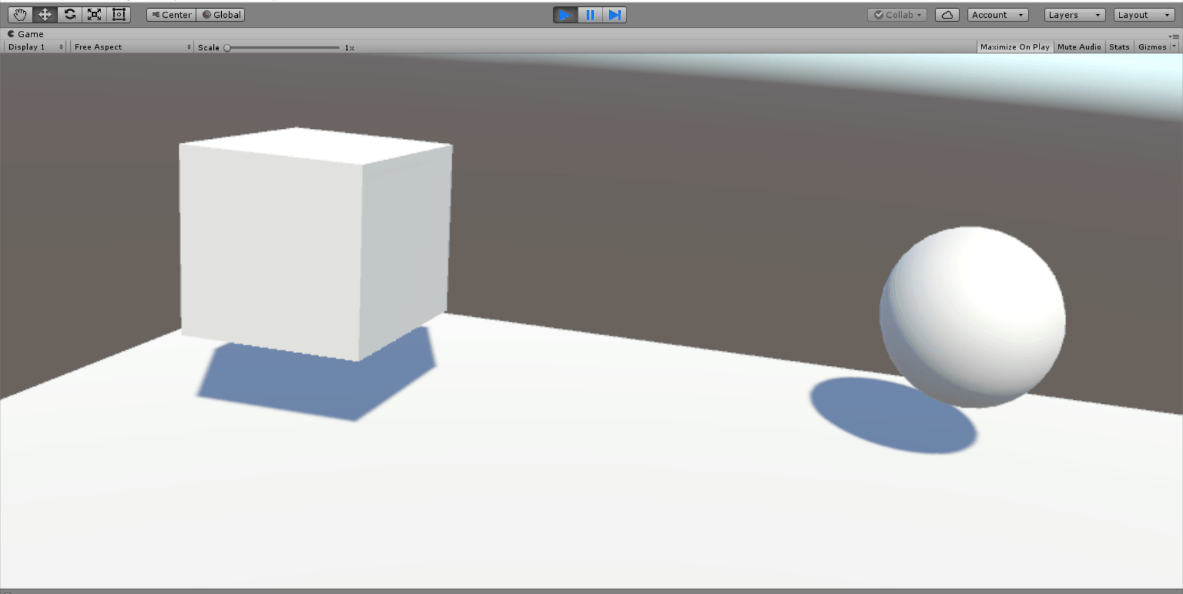
When you start your project, the main camera in the scene can act as a stereoscopic VR camera. You need to position the camera in the right place inside the scene. Then, you can add objects like cubes and planes for reference.
Now, for more functionality, we need to enable hand tracking as well. To do so we can either bring the Prefab object into a SteamVR plugin called CameraRig, or we can set the scene with our camera.
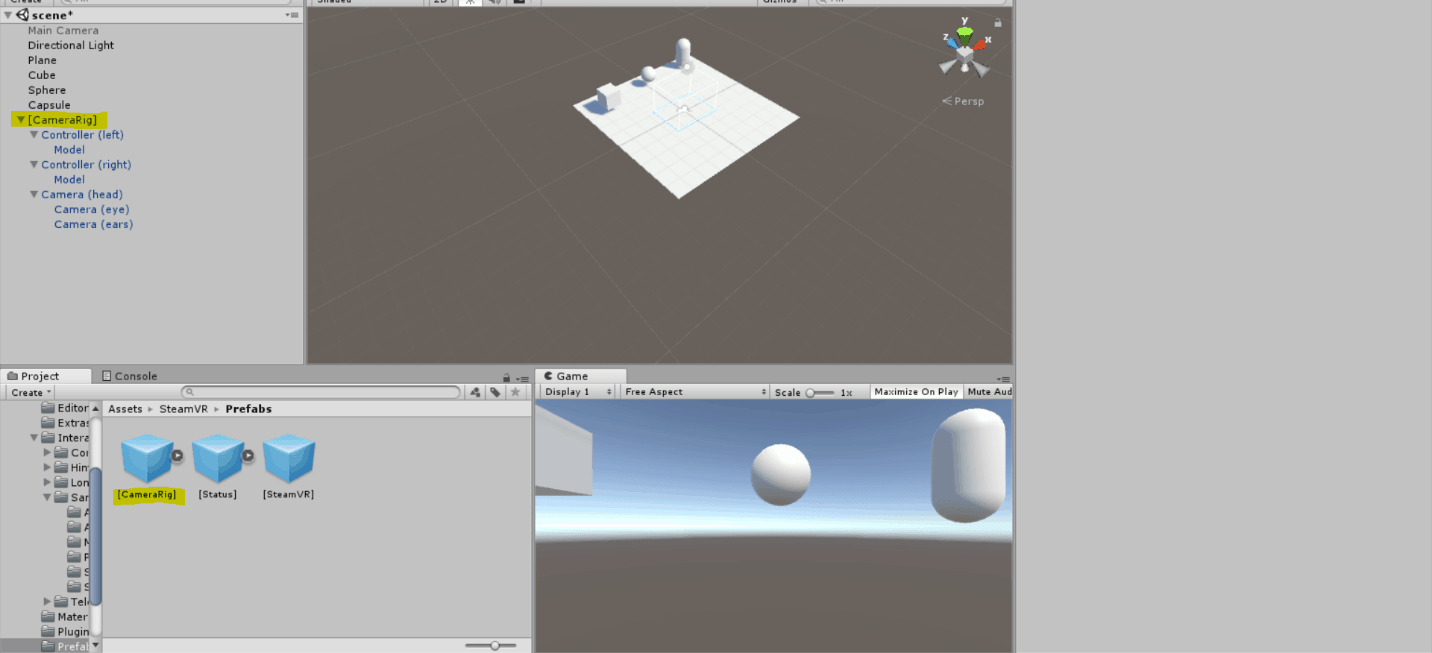
Inside your project structure, browse through the SteamVR plugin files and find the Prefabs subfolder. This contains objects like the CameraRig, a premade game object which has controller tracking enabled for both Controller (Left and Right) game objects with SteamVR_TrackedObject script attached to them.
Now if you play the game you can see your Oculus Touch controllers being tracked with a model of the Oculus Touch in the scene.

Now, with this simple demo, you can explore the virtual world you have created inside VR. You have head-tracking and tracking for both hands.
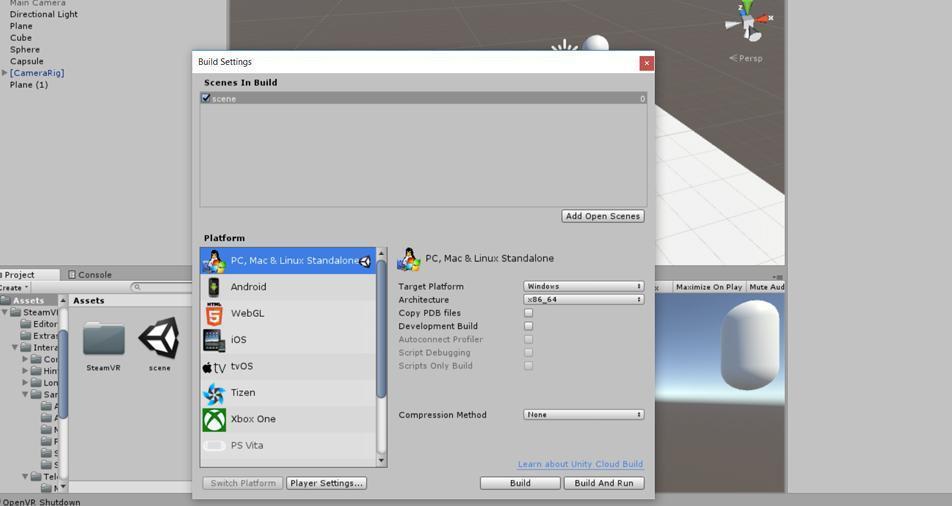
You can build this progress and test it without opening the engine, which can be easily done from the above Menu bar (File > Build Setting > Build). You now have an executable file that you can run without using the engine.
With what you have accomplished using this tutorial, you’ll be able to create a VR walkthrough where you can display any VR content such as models and animations. However, in the world of virtual reality this is called “passive experience,” as you don’t interact with or contribute to the scene; “players” just get to display and view the content.
VR is Here to Stay
VR is a growing industry that’s here to stay, and it should be a goal for any developer to become an early adopter of this technology. Besides challenge and personal improvement discussed earlier, we can expect that hiring in this sector will grow exponentially over the next decade.
Based on your project, you need to decide which VR mechanics you want to implement into the scene. For example, in architecture visualization, the most important mechanic is moving around and navigating the scene. However, you can add another functionality where you can change the models in the scene or even change the materials on the models, giving the user a more interactive experience.
There are so many cool things you can do with SteamVR, like teleporting and moving around the scene, or even interacting with other objects by carrying or throwing them. These topics are a little bit more advanced and we may cover them in other guides.

Related Articles

12 REALITIES of Daily Life as a Programmer
What’s the daily life of a programmer like? A programmer’s daily life consists of auditing and debugging code, coding new…

13 POWERFUL Productivity Tips for Developers
Great productivity is one of the best soft skills you can have as a developer. I’ve used these tips to…
Impostor Syndrome as a Programmer
Believing that you’re somewhat unqualified for your job is a problem faced by the best of us. When those thoughts…